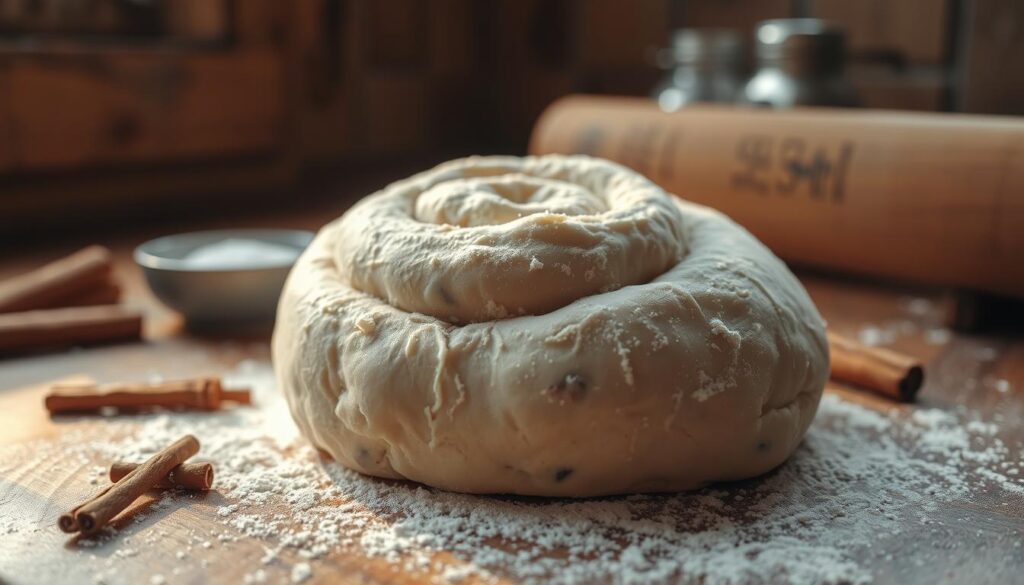
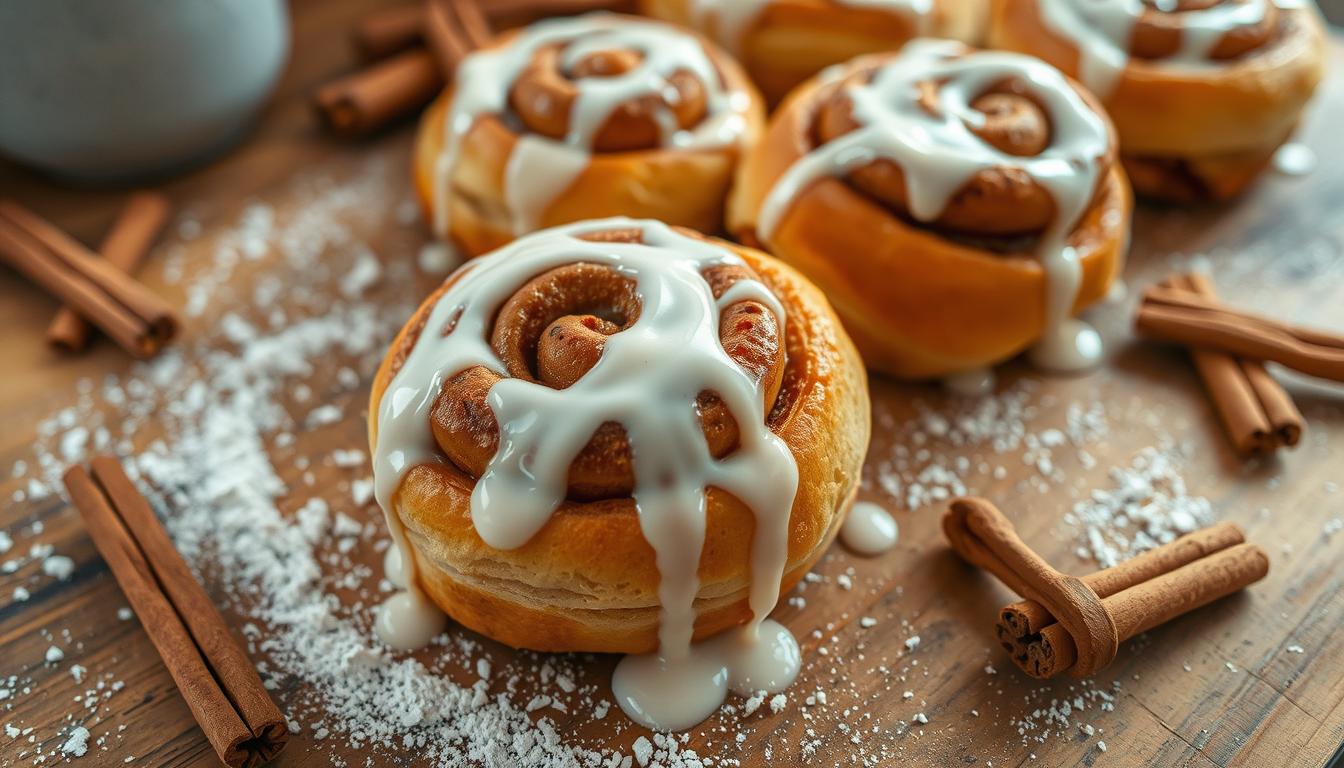
The smell of freshly baked cinnamon rolls is a simple joy. When you take your first bite, the soft dough melts into a gooey, cinnamon-sugar filling. It brings back memories and feels like coming home. Homemade cinnamon rolls are more than just breakfast; they’re a labor of love that warms your kitchen.
Whether you’re an experienced baker or new to the kitchen, making cinnamon rolls is rewarding. Kneading the dough and rolling each pastry is as enjoyable as eating them. And the best part? You get to enjoy every sweet, gooey bite of your hard work.
Key Takeaways
- Homemade cinnamon rolls are a classic breakfast and brunch favorite
- The process of making them from scratch is both rewarding and delicious
- These sweet, gooey treats fill your kitchen with the comforting aroma of home
- Mastering cinnamon roll baking is a satisfying skill for bakers of all levels
- Enjoying the freshly baked results is the ultimate payoff for your efforts
The History and Origins of Classic Cinnamon Rolls
Cinnamon rolls, also known as “cinnamon buns” or “sweet bread rolls,” have a long history. They come from the Scandinavian tradition of Kanelbullar, or Swedish cinnamon buns.
Swedish Roots: The Birth of Kanelbullar
In the 18th century, Sweden created Kanelbullar. These pastries were made with a yeasted dough, filled with cinnamon, butter, and sugar. They quickly became a favorite in Swedish cafes and homes.
Evolution into American Breakfast Culture
When Scandinavian immigrants came to the United States, they brought Kanelbullar with them. Over time, American cinnamon rolls became sweeter, with more butter, sugar, and cream cheese frosting. Now, they’re a big part of American breakfasts.
Modern-Day Popularity and Variations
Today, cinnamon rolls are loved worldwide. You can find everything from classic Cinnabon-style to caramel-pecan and cream cheese-filled. They’re a favorite for brunch or a daily treat.
Essential Ingredients for Perfect Cinnamon Rolls
Making delicious cinnamon rolls is an art. It’s all about the right mix of ingredients. Whether you’re a pro or new to homemade cinnamon rolls, knowing each part’s role is key. This ensures your rolls are soft and gooey.
The core ingredients are flour, yeast, sugar, and cinnamon. Flour gives the dough its base, while yeast makes it rise and fluffy. Sugar sweetens the dough and helps the yeast work, creating a soft crumb.
Cinnamon is the star of the show. The right mix of cinnamon, brown sugar, and butter makes the cinnamon-sugar filling. This filling is what makes the rolls so tempting. Try different cinnamon types to find your favorite.
Milk or heavy cream add richness and moisture. A pinch of salt balances the sweetness. Some add vanilla extract or nutmeg for extra flavor.
With these ingredients, you’re ready to make cinnamon rolls that everyone will love. So, let’s get started and make these beloved breakfast treats!
Tools and Equipment You’ll Need for Baking
To bake delicious homemade cinnamon rolls, you need more than just ingredients. You’ll need the right tools and equipment. Let’s look at what you need for your cinnamon bun recipe.
Must-Have Baking Tools
- Heavy-duty stand mixer with a dough hook attachment
- Rolling pin for shaping the dough
- Sharp knife or bench scraper for cutting the rolls
- Baking sheets or pans lined with parchment paper
- Oven-safe dish or ramekins for individual cinnamon rolls
Optional Equipment for Professional Results
While the above tools are essential, some extra equipment can improve your cinnamon rolls:
- Pastry mat or silicone baking mat for rolling out the dough
- Dough scraper to easily transfer the rolled-out dough
- Pastry brush for applying butter or egg wash
- Digital kitchen scale for precise ingredient measurements
Measuring and Mixing Essentials
Accurate measurements are key when making cinnamon bun recipe or homemade cinnamon rolls. Make sure you have:
- Measuring cups and spoons
- Large mixing bowl for kneading the dough
- Whisk for incorporating dry ingredients
- Spatula or wooden spoon for mixing and folding the dough
With the right tools and equipment, you can make bakery-quality homemade cinnamon rolls in your kitchen.
Step-by-Step Dough Preparation Guide
Making the perfect cinnamon rolls begins with dough preparation. This guide is for both seasoned bakers and kitchen novices. It will help you create the base for your tasty homemade cinnamon rolls.
To get soft, fluffy cinnamon rolls, you need to handle the dough right. Start by mixing dry ingredients like flour, sugar, salt, and yeast in a big bowl. Then, add wet ingredients like milk, melted butter, and eggs. Keep mixing until the dough comes together.
- Knead the dough by hand or with a stand mixer and a dough hook. Do this for 5-10 minutes until it’s smooth and elastic.
- Put the dough in a greased bowl, cover it, and let it rise in a warm, draft-free spot for 1 to 1.5 hours. It should double in size.
- Punch down the dough to get rid of air bubbles. Then, roll it out into a large rectangle, about 1/4 inch thick.
Now that your dough is ready, it’s time to add the cinnamon sugar filling. This is when you shape your sweet bread rolls into the classic cinnamon roll shape. Next, learn how to make the perfect cinnamon sugar blend.

Making the Perfect Cinnamon Sugar Filling
To make the ultimate gooey cinnamon rolls, start with the perfect cinnamon sugar filling. The right cinnamon, mixed with butter and sugar, and optional flavor enhancers, can make your cinnamon rolls extra special.
Choosing the Right Cinnamon
The type of cinnamon you pick can change how your cinnamon rolls taste. Ground Ceylon cinnamon, or true cinnamon, has a delicate and complex flavor. If you want a bolder taste, cassia cinnamon is the way to go.
Butter and Sugar Combinations
Finding the right mix of butter and sugar is key. A good starting point is 2 parts sugar to 1 part softened butter. But feel free to adjust it to your liking.
Optional Flavor Enhancers
- Ground nutmeg or cardamom can add a warm, aromatic touch to the filling.
- Vanilla extract enhances the overall flavor profile.
- A pinch of salt helps to balance the sweetness.
Try out different mixes to find the cinnamon sugar filling that makes your cinnamon rolls irresistible.
Rolling, Cutting, and Shaping Techniques
Learning to roll, cut, and shape cinnamon rolls is key to making them just like the bakery. Whether you’re making classic homemade cinnamon rolls or trying a cinnamon bun recipe, these steps will help you get the right shape and texture.
Rolling Out the Dough
Begin by rolling out your dough on a floured surface. Use a rolling pin to stretch and flatten it into a big rectangle. Make sure it’s about 1/4 inch thick for fluffy rolls.
Spreading the Filling
Spread your cinnamon-sugar filling evenly over the dough, leaving a border around the edges. Make sure to get the filling to the corners for the best flavor.
Shaping the Rolls
- Roll the dough tightly from the long side, sealing the seam.
- Use a sharp knife or dental floss to cut the dough into 1-inch slices.
- Place the rolls in a greased pan, leaving space for them to expand.
You can also try spiral or flower shapes for a pretty look. Just coil the dough or arrange the slices in a circle before baking.

Choose your shaping method, but keep the rolls tight and even. This ensures they bake well and look great.
Proofing and Baking Your Cinnamon Rolls
Making homemade cinnamon rolls needs patience. The dough must rise and proof before baking. Getting the dough to rise right is key for soft, fluffy rolls. Let’s look at the best proofing and baking methods for perfect cinnamon rolls.
Optimal Proofing Conditions
For great proofing, create a warm, humid spot for the dough. Here are some tips for the best proofing:
- Put the dough in a greased bowl, cover it with a damp towel, and let it rise in a warm, draft-free spot for 1-2 hours, until it doubles in size.
- You can also proof the dough in the oven with the light on, or use a pan of hot water on the bottom rack to keep it humid.
- Don’t let the dough over-proof, as this can make the cinnamon rolls dense or collapse.
Baking Temperature and Timing
After the dough is ready, it’s time to bake your homemade cinnamon rolls. Here’s how to do it right:
- Heat your oven to 350°F (177°C).
- Put the shaped rolls in a greased baking pan, leaving enough space for them to expand without touching.
- Bake for 20-25 minutes, until the rolls are golden and the center is cooked through.
- For overnight cinnamon rolls, cover the pan and refrigerate it overnight before baking the next day.
Visual Cues for Perfect Doneness
It can be hard to tell when your cinnamon rolls are done, but there are signs to look for:
- The rolls should be golden brown on top, with no raw dough showing.
- Gently press on the center of a roll – it should feel firm and spring back slightly.
- A toothpick inserted into the center should come out clean, with no wet dough sticking to it.
By watching for these signs and using the right proofing and baking methods, you can make homemade cinnamon rolls that are always fluffy and gooey.
Cream Cheese Frosting and Glazing Options
Take your homemade iced cinnamon rolls to the next level with the right frosting or glaze. From the classic cinnamon roll frosting to richer options, there’s a world of possibilities. Turn your gooey cinnamon rolls into a true masterpiece.
Creamy Cream Cheese Frosting
No iced cinnamon rolls are complete without creamy cream cheese frosting. This topping matches the warm, spicy flavors of the cinnamon rolls perfectly. To make it, mix softened cream cheese, butter, powdered sugar, and vanilla extract for a smooth finish.
Versatile Glaze Options
For a lighter, glossy finish, try a cinnamon roll frosting glaze. Mix powdered sugar, milk, and a pinch of cinnamon. Drizzle it over your gooey cinnamon rolls for a stunning look.
Feel adventurous? Try flavored glazes like orange, lemon, or maple. These glazes can give your iced cinnamon rolls a unique taste.
Achieving the Perfect Consistency
Consistency is crucial for frosting and glazing. Use softened cream cheese and butter for a thick frosting. Add powdered sugar slowly until it’s right. For a glaze, adjust the milk and sugar ratio for a pourable texture.
The secret to gooey cinnamon rolls is finding the right balance. Try different frostings and glazes to find the perfect match for your creations.
Storage Tips and Reheating Methods
Homemade cinnamon rolls are a delightful breakfast treat. But what about leftovers? Don’t worry, with the right storage and reheating, you can enjoy them even days later.
Proper Storage Techniques
Start by letting your cinnamon rolls cool completely before storing. Then, put them in an airtight container or resealable plastic bag. Stored this way, they stay fresh for up to 4 days at room temperature.
Best Practices for Freezing
For longer storage, you can freeze homemade cinnamon rolls. Wrap each roll in plastic wrap or foil, then in a freezer-safe bag or container. Frozen, they keep their flavor and texture for up to 2 months.
Reheating for Fresh-Baked Taste
Ready to enjoy your breakfast pastries again? Here are a few simple reheating methods:
- Oven: Preheat to 350°F (175°C). Place rolls on a baking sheet and bake for 5-10 minutes until warm and slightly crisp.
- Microwave: Heat individual rolls for 20-30 seconds, but be careful not to overheat.
- Air Fryer: Place rolls in the basket and heat at 350°F (175°C) for 2-3 minutes, until warmed through.
With these simple storage and reheating tips, you can enjoy the aroma and flavor of freshly baked cinnamon rolls anytime, even with leftovers.
Conclusion
Making homemade cinnamon rolls is a fun journey. It gives you warm, fragrant treats perfect for breakfast or brunch. From Swedish kanelbullar to American cinnamon rolls, this recipe has won many hearts.
Learning the key ingredients, tools, and techniques lets you make perfect cinnamon rolls at home. You can stick to classic flavors or try new ones. This recipe is very flexible, so you can make it your own.
Sharing these breakfast pastries with loved ones brings joy. It’s a chance to make memories and enjoy a homemade treat. So, get ready to bake some cinnamon rolls. The effort is worth it!

