The scent of freshly baked cookies can take us back to our childhood. For many, the Milano cookie brings back memories of comfort and joy. Now, you can make this beloved treat at home with just a few ingredients and some skill.
Welcome to the world of homemade Milano cookies. Here, you can enjoy the satisfaction of making your own gourmet treats.
Key Takeaways
- Discover the joy of making your own Milano cookies at home
- Explore the rich history and legacy behind the classic Milano cookie
- Learn the essential ingredients and techniques for achieving the perfect Milano cookie texture
- Master the art of creating the signature chocolate filling
- Troubleshoot common challenges and achieve professional-level results
Understanding the Classic Milano Cookie Legacy
The Milano cookie is a favorite in America, with a history from the mid-20th century. Introduced by Pepperidge Farm, these cookies are filled with chocolate. They have become a favorite in many homes.
The Milano’s popularity shows how timeless flavors and new baking methods can win hearts.
History of Pepperidge Farm’s Milano Cookies
Pepperidge Farm started in 1937 by Margaret Rudkin. It’s known for quality and traditional baking. In the 1950s, they aimed to make an Italian-style cookie.
The Milano was born, with a golden shell and a rich chocolate center.
What Makes Milano Cookies Special
The Milano’s unique shape and taste make it stand out. Its thin shell and soft center offer a perfect contrast. The use of real chocolate and premium butter adds to its indulgent flavor.
These ingredients have made the Milano a favorite for many generations.

“The Milano cookie is a timeless classic that captures the essence of Italian baking tradition.”
Essential Ingredients for Perfect Homemade Milano Cookies
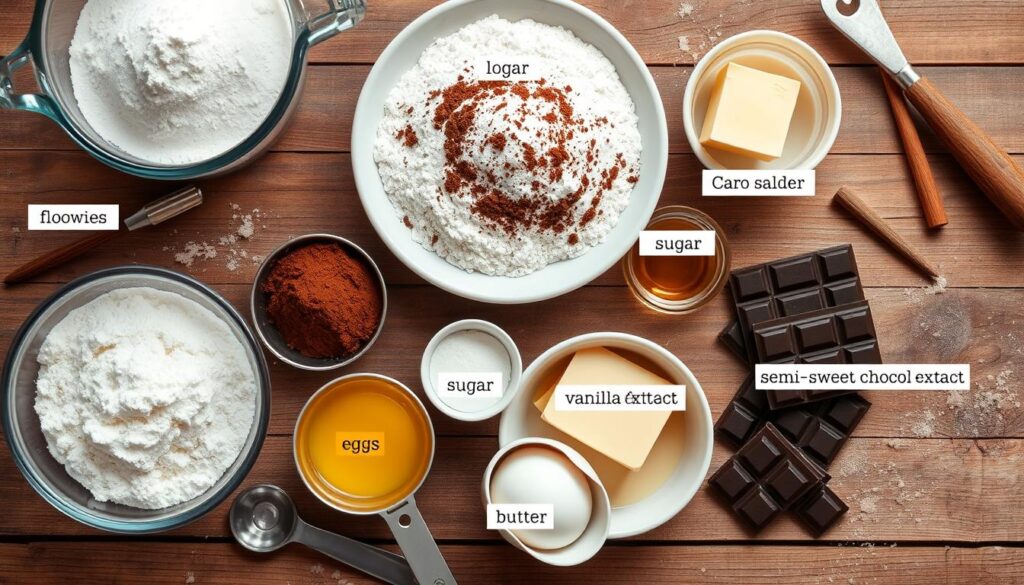
Making milano cookies at home needs the right ingredients. The cookie’s buttery taste and chocolate filling are key. Each part is important for the cookie’s taste and feel.
Unsalted butter is at the core of milano cookies ingredients. It makes the cookies creamy and rich. Choose a high-quality, European-style butter for the best taste.
Flour is also key, giving the cookie its shape and texture. Use all-purpose flour, sifted for a smooth texture. This is the best choice for homemade Milano cookies.
| Ingredient | Purpose |
|---|---|
| Unsalted Butter | Provides the rich, buttery flavor and tender texture |
| All-Purpose Flour | Gives the cookies their structure and classic shape |
| Granulated Sugar | Sweetens the cookie base and enhances caramelization |
| Cocoa Powder | Imparts the signature chocolate flavor in the filling |
| Chocolate Chips or Chunks | Creates the decadent, molten chocolate center |
Granulated sugar sweetens the cookie base and helps with caramelization. For the filling, use good cocoa powder and chocolate chips or chunks. They make the cookie’s chocolate center.

With these ingredients, you can make homemade Milano cookies that are just as good as store-bought ones. The secret is using the best ingredients and following the right steps.
Kitchen Tools and Equipment You’ll Need
To bake homemade Milano cookies, you need some key tools and equipment. These help get the perfect texture and look. Having the right tools can really improve your cookie-making skills.
Must-Have Baking Tools
- Mixing bowls: You’ll need at least two – one for the cookie dough and another for the chocolate filling.
- Hand mixer or stand mixer: This will help you cream the butter and sugar efficiently.
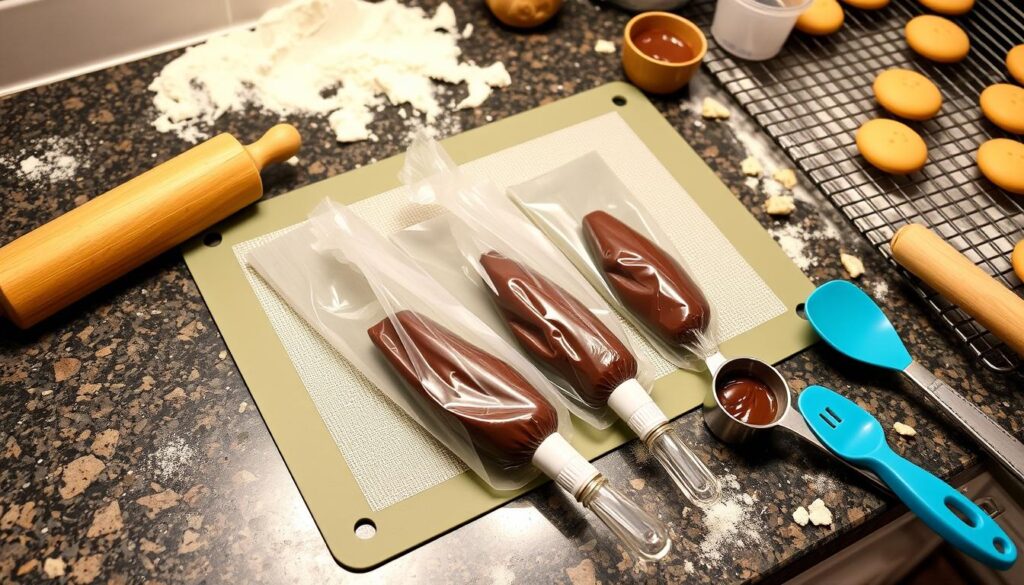
- Piping bags and tips: To achieve the signature Milano cookie shape, you’ll need piping bags and various piping tips.
- Baking sheets: Line them with parchment paper or silicone baking mats for easy cookie removal.
- Cooling rack: This will allow your freshly baked cookies to cool completely before assembling.
Optional Equipment for Professional Results
While the basics above work well, these extra tools can make your Milano cookies look even better:
- Offset Spatula: This helps with smoothing the chocolate filling and transferring the cookies.
- Food Processor: For quickly blending the filling ingredients to a smooth consistency.
- Chocolate Tempering Machine: This specialized equipment ensures the chocolate coating has a glossy, professional finish.
Preparation Setup Tips
Before you start baking, set up your workspace efficiently. Gather all the ingredients and tools in one place. Line your baking sheets, have your piping bags ready, and clear some counter space for cooling the cookies. This makes the process smoother and less interrupted.

| Essential Baking Tools | Optional Equipment |
|---|---|
|
|
Homemade Milano Cookies Recipe
Making milano cookies at home is a fun way to enjoy this classic treat. You just need a few ingredients and some care to make these buttery, chocolate-filled cookies. Let’s go through the steps to make your own homemade milano cookies.
- Preheat your oven to 350°F (175°C) and line a baking sheet with parchment paper.
- In a medium bowl, cream together the softened unsalted butter and granulated sugar until light and fluffy, about 2-3 minutes.
- Beat in the egg and vanilla extract until well combined.
- In a separate bowl, whisk together the all-purpose flour, baking powder, and salt.
- Gradually add the dry ingredients to the wet ingredients, mixing just until a dough forms.
- Divide the dough in half and roll each half into a log, approximately 1-inch in diameter.
- Wrap the dough logs in plastic wrap and refrigerate for at least 30 minutes, or up to 2 days.
- Once chilled, slice the dough logs into 1/4-inch thick rounds and place them on the prepared baking sheet, spacing them about 2 inches apart.
- Bake the homemade milano cookies for 10-12 minutes, or until the edges are lightly golden.
- Allow the cookies to cool on the baking sheet for 5 minutes before transferring them to a wire rack to cool completely.
Now that the cookie bases are ready, it’s time to make the sandwich cookies. Spread chocolate ganache or melted chocolate on one cookie and top it with another. Enjoy your homemade milano cookies with a cup of coffee or tea. They’re perfect for savoring the buttery cookie and rich chocolate filling.
The secret to perfect homemade milano cookies is in the details and quality ingredients. With a bit of practice, you’ll impress everyone with your baking skills.
Making the Perfect Cookie Base
Creating the perfect Milano cookie base is key to making delicious treats. It involves getting the texture right and mastering piping. Each step is important for those beloved buttery milano cookies. Let’s explore the essential techniques for baking these irresistible treats.
Achieving the Right Texture
The crispness of Milano cookies comes from the right mix of butter, flour, and sugar. To get that perfect snap, pay attention to your ingredients and how you mix them. Too much mixing can make the dough tough, while too little can affect the cookie’s shape.
Proper Piping Techniques
Getting the Milano cookie shape right needs a steady hand and the right piping. Use a large star-tipped piping bag to pipe the dough. Keep the pressure even and the spacing right for uniform cookies. This ensures your milano cookies have that classic ridged edge.
Baking Temperature and Timing
The secret to perfectly baked milano cookies is finding the right temperature and timing. Bake them at about 350°F (175°C) and watch them closely. Take them out when the edges start to turn golden. This prevents them from becoming dry and brittle.
Mastering these techniques will help you make homemade milano cookies that are just as good as the ones from the bakery. The secret is in the details, from the texture to the shape. With practice, you’ll be making batches of irresistible, buttery milano cookies that everyone will love.
Creating the Signature Chocolate Filling
Making the perfect chocolate milano cookies starts with the chocolate filling. This creamy center is what makes these sandwich cookies so special. To get that classic Pepperidge Farm Milano taste, follow these steps to make the chocolate filling just right.
Selecting the Right Chocolate
Choosing the right chocolate is key for a great filling. Look for chocolate with a cocoa content between 60-72%. This ensures a rich flavor that goes well with the cookie. Don’t use milk chocolate, as it can make the filling too sweet.
Melting the Chocolate
Melting chocolate right is important for the perfect filling. Use a double boiler or a heatproof bowl over simmering water to melt it. Stir it now and then until it’s smooth. Be careful not to heat it too much, or it will seize up.
Achieving the Ideal Filling Texture
After melting, adjust the filling’s texture. It should be thick enough to hold its shape but still spreadable. Play with the chocolate to cream ratio to get the right consistency.
With these tips, you’ll be making delicious chocolate milano cookies in no time. They’ll taste just like the classic ones everyone loves.
Assembly and Storage Tips
Making the perfect Milano cookies is just the start. You also need to know how to assemble and store them right. This keeps their flavor and texture just right. Here are some tips to keep your easy Milano cookies at home fresh and tasty.
Proper Cooling Methods
After baking the cookie bases, let them cool down completely before you put the filling in. This step stops the chocolate from melting and keeps the cookies looking neat. Place the cooled cookie halves on a wire rack or parchment-lined baking sheet. This lets air get to them and cool them down better.
Storage Duration Guidelines
- Keep your homemade cookie gifts in an airtight container at room temperature for up to 1 week.
- For longer storage, refrigerate the assembled Milano cookies for up to 2 weeks.
- Freeze the cookie bases (before assembling) for up to 3 months, then thaw and assemble when ready to enjoy.
Storing your easy Milano cookies at home properly is crucial. It keeps their texture and taste perfect. Follow these tips, and your homemade treats will stay fresh and delicious for a long time.
Troubleshooting Common Milano Cookie Issues
Baking homemade milano cookies is a fun experience, but sometimes problems arise. Don’t worry, we have solutions for common milano cookie issues.
Preventing Excessive Spreading
If your milano cookies spread too much, try these tips:
- Chill the dough for at least 30 minutes before piping. This helps the cookies keep their shape.
- Use a stiff, thick cookie dough that’s not too soft or warm.
- Pipe the dough onto the baking sheet in well-defined, evenly spaced rounds.
Achieving Even Baking
Uneven baking can make some milano cookies too dark or not fully cooked. Here are some solutions:
- Rotate the baking sheet halfway through baking to ensure even heat.
- Use a light-colored baking sheet to prevent over-browning on the bottom.
- Adjust your oven temperature slightly lower if the cookies are browning too quickly on the edges.
Fixing Filling Issues
Having trouble with the perfect milano cookie filling? Try these tricks:
- Make sure the filling is at the right consistency – not too thick or too thin.
- Pipe the filling onto the cookie base evenly, taking care not to overfill.
- Refrigerate the filled cookies for at least 30 minutes before serving to allow the filling to set.
With these milano cookies baking instructions and troubleshooting tips, you’re on your way to making bakery-worthy homemade milano cookies. Happy baking!
Conclusion
Making homemade Milano cookies recipe is a rewarding experience. You’ve learned how to make these classic, buttery treats with a chocolate filling. The joy of biting into a fresh, homemade easy Milano cookies at home is unmatched.
Be proud of your baking skills and making this iconic cookie in your kitchen. You can try different flavors or add-ins to make it your own. Sharing them with loved ones or enjoying them alone, these homemade Milano cookies will always be a hit.
Keep being your own pastry chef and enjoy making these tasty treats. With the right skills and creativity, you can make simple cookies into something special. Enjoy the classic taste of Pepperidge Farm’s Milano cookies, but with the joy of making them yourself.

