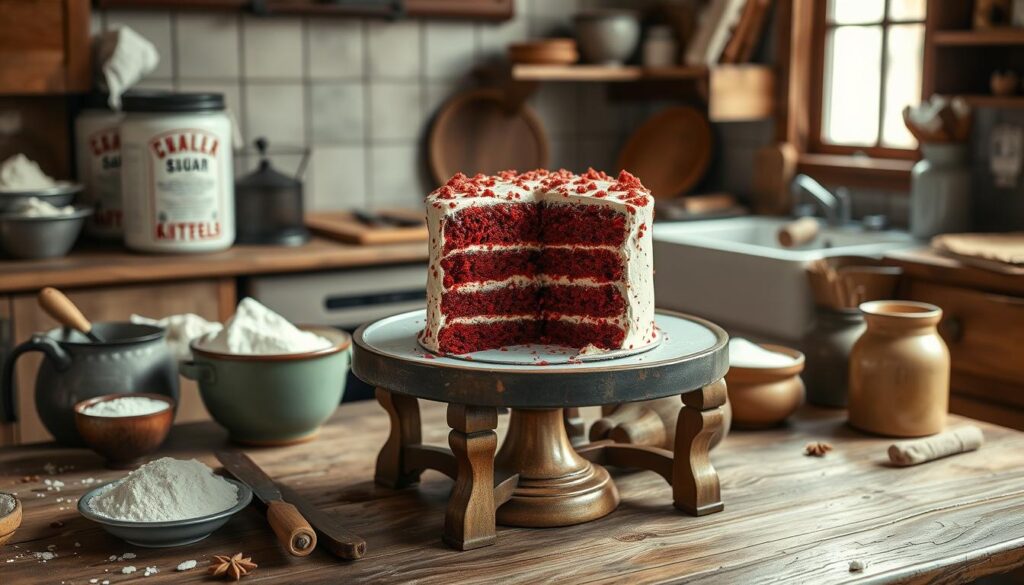
Growing up in the South, the smell of red velvet cake brought back memories. It was known for its rich, velvety texture and deep red color. This guide will teach you how to make the perfect red velvet cake, a classic that brings back old times.
Key Takeaways
- Discover the origins and evolution of the beloved red velvet cake from its Southern roots.
- Master the essential ingredients and techniques for creating a moist, flavorful red velvet cake.
- Learn the secrets to achieving the perfect cake texture and color.
- Explore the art of crafting the ideal cream cheese frosting to complement the cake.
- Elevate your red velvet cake with professional-level assembly and decorating techniques.
The Rich History Behind Red Velvet Cake
Red velvet cake has a rich history in the American South. It has changed over time, becoming a favorite dessert in the United States.
Origins in the American South
The story of red velvet cake starts in the late 19th century in the South. It was a special treat, served at fancy events and fine restaurants. The red food coloring made it stand out, showing it was a high-end dessert.
Evolution Through Generations
As years went by, the recipe for red velvet cake changed. Home cooks in the South added their own touches. They used buttermilk and natural cocoa, giving the cake a tangy, chocolatey taste.
From Luxury Dessert to Popular Classic
Red velvet cake went from a luxury item to a beloved classic. Its red color and soft texture made it perfect for holidays. Now, it’s enjoyed everywhere, a favorite in bakeries, restaurants, and homes.

“Red velvet cake has become an iconic part of the American baking tradition, reflecting the rich culinary heritage of the South.”
Essential Ingredients for Red Velvet Cake Recipe
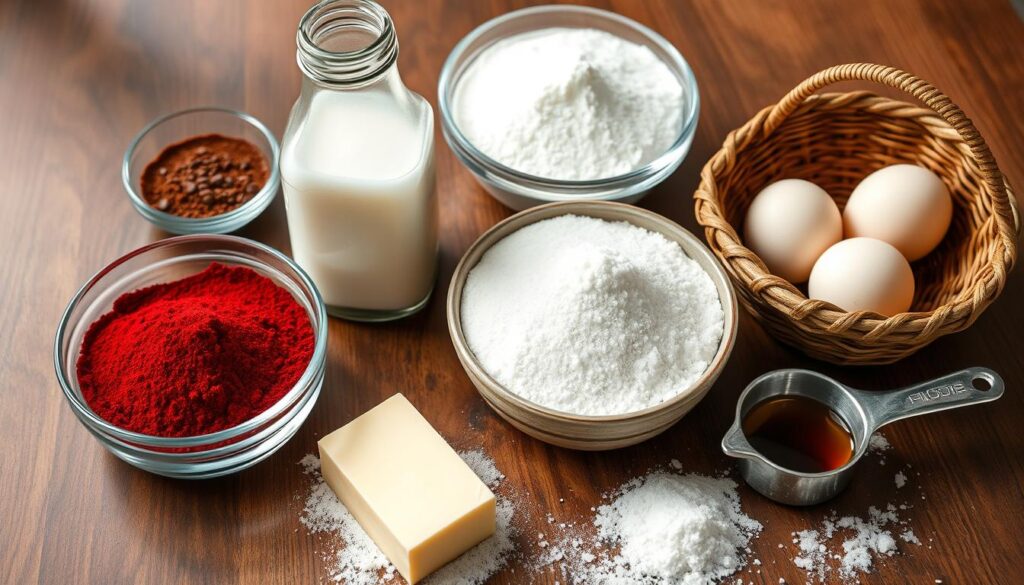
The unique taste and bright color of red velvet cake come from special ingredients. Rich cocoa powder and tangy buttermilk are key. Each part is crucial for the perfect cake.
Cocoa powder is at the heart of the recipe. It gives the cake its chocolate taste and deep red color. The amount of cocoa can vary, affecting the cake’s chocolate flavor.
Buttermilk is also vital. It adds a tangy taste and makes the cake tender. The buttermilk’s acidity works with baking soda to make the cake light and fluffy.
Food coloring is needed for the cake’s bright red color. It’s a mix of red and sometimes blue dyes. You can adjust the coloring to get the shade you like, from pink to deep red.
Other important ingredients are all-purpose flour, sugar, oil or melted butter, eggs, and vanilla extract. These all work together to make the famous red velvet cake loved in the American South and worldwide.
| Ingredient | Purpose |
|---|---|
| Cocoa Powder | Provides the signature chocolate flavor and contributes to the red color |
| Buttermilk | Adds tanginess and helps to tenderize the cake’s crumb |
| Food Coloring | Achieves the desired vibrant red shade of the cake |
| All-Purpose Flour | Provides the structure and texture of the cake |
| Granulated Sugar | Sweetens the cake and contributes to the overall texture |
| Vegetable Oil or Melted Butter | Adds moisture and richness to the cake |
| Eggs | Bind the ingredients together and provide structure |
| Vanilla Extract | Enhances the overall flavor profile of the cake |

With these key ingredients, you can make a moist, tasty, and beautiful red velvet cake. The right mix of cocoa, buttermilk, and coloring is what makes it special.
Kitchen Tools and Equipment You’ll Need
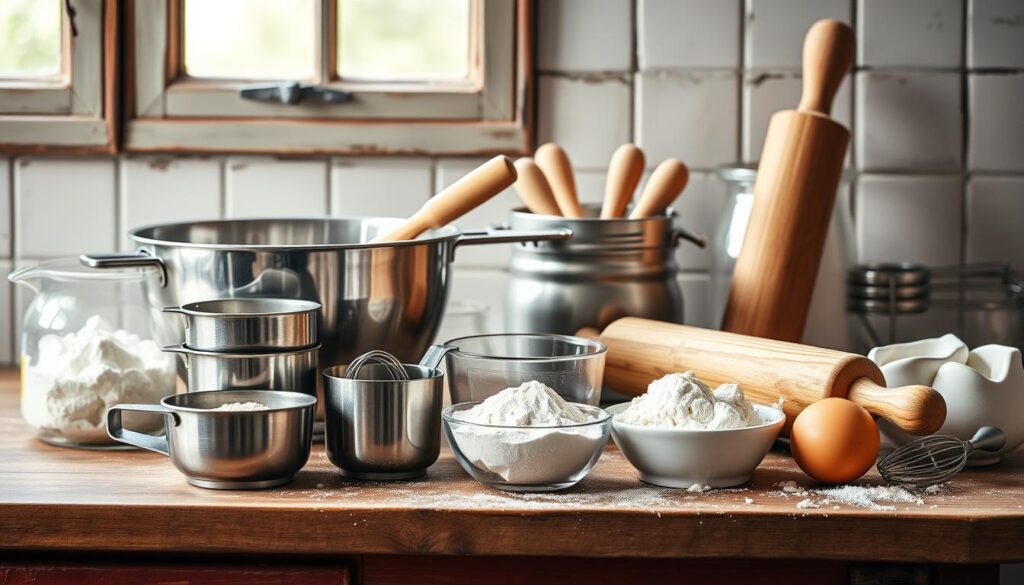
Baking a delicious Red Velvet Cake needs more than just the right ingredients. You’ll need the right kitchen tools and equipment for success. From baking pans and mixers to measuring tools and decorating accessories, let’s look at what you’ll need before starting.
Baking Pans and Mixers
You’ll need round baking pans, usually 8-inch or 9-inch. A good stand mixer or hand mixer makes mixing easier. Also, get a durable mixing bowl to prevent spills.
Measuring Tools and Accessories
- Precise measuring cups and spoons are key for accurate ingredient portions.
- A reliable kitchen scale helps with weighing ingredients like flour.
- Use a spatula for mixing and spreading batter. A toothpick or skewer checks if the cake is done.
Optional Decorating Equipment
While not necessary, some decorating equipment can elevate your Red Velvet Cake. Get a piping bag and decorating tips for fancy designs with cream cheese frosting. A turntable helps with smoothing and decorating.
With the right baking equipment, cake pans, and measuring tools, you’re ready to make a stunning Red Velvet Cake. It will surely impress your family and friends.

Step-by-Step Mixing Instructions
Making the perfect red velvet cake starts with the right mix. Follow these baking directions to get your cake batter just right. This ensures it has the perfect texture and color.
- First, preheat your oven to 350°F (175°C). Make sure to grease and flour your baking pans to avoid sticking.
- In a big mixing bowl, mix together the dry ingredients. These are all-purpose flour, cocoa powder, baking soda, and salt. Whisk until they’re well combined.
- Next, in another bowl, cream the butter and sugar with an electric mixer on medium speed. Keep going until it’s light and fluffy, about 2-3 minutes.
- Beat in the eggs one at a time. Make sure to beat well after each egg. Then, add the vanilla extract and stir it in.
- Now, add the flour mixture and buttermilk to the butter-sugar mix, one at a time. Mix on low speed after each addition. Don’t overmix.
- Lastly, fold in the red food coloring gently. This will make sure the batter is evenly colored.
The mixing techniques you use are key to getting that perfect red velvet texture. Take your time and follow these steps carefully. This will help you make a cake that’s sure to impress.
The Secret to Perfect Cake Texture
Getting the perfect cake texture is a big deal, especially for Southern favorites like Red Velvet Cake. To achieve a moist, tender crumb, focus on ingredient temperature, mixing, and moisture control.
Proper Ingredient Temperature
Ingredient temperature is key for your Red Velvet Cake’s texture. Make sure your butter, eggs, and milk are at room temperature before mixing. This helps mix better and creates a moist cake texture.
Don’t use cold ingredients from the fridge. They can make your cake dense and dry.
Mixing Techniques
- Cream the butter and sugar well to add air, making the cake light and fluffy.
- Alternate adding dry and wet ingredients in small batches. Mix gently to avoid a dense cake texture.
- When adding egg whites, fold gently to keep them airy and add volume to the batter.
Moisture Control Tips
- Don’t overbake your Red Velvet Cake. It can become dry and crumbly. Check it often and take it out when a toothpick comes out clean.
- Use the right amount of liquid. Too much makes it gummy, while too little makes it dry.
- Adding oil or buttermilk can help keep the cake moist and tender, giving it a great moist cake texture.
By focusing on ingredient temperature, mixing, and moisture, you’ll make a perfect Red Velvet Cake. Its texture will impress everyone.
Baking Time and Temperature Guidelines
Getting the perfect texture for your red velvet cake is all about precision. You need to know the right baking time and oven temperature. This ensures your cake is moist, tender, and has that deep red color.
Start by preheating your oven to 350°F (175°C). This temperature is perfect for enhancing red velvet’s flavors and creating a domed cake. For a standard 9-inch round cake pan, bake for 30-35 minutes.
Baking times can change based on the pan size and type. For a 9×13 inch sheet pan, bake for 35-40 minutes. Cupcakes or mini cakes should be checked for doneness after 18-22 minutes.
| Pan Size | Baking Time |
|---|---|
| 9-inch round | 30-35 minutes |
| 9×13 inch sheet | 35-40 minutes |
| Cupcakes/Mini Cakes | 18-22 minutes |
The toothpick test is the best way to check if your cake is done. Stick a toothpick into the cake’s center. If it comes out clean, your cake is ready. Remember, oven temperatures can differ, so watch your cake closely.
By sticking to these guidelines, you’ll make a moist and flavorful red velvet cake every time.
Creating the Perfect Cream Cheese Frosting
Elevate your Red Velvet Cake with the perfect cream cheese frosting. This topping is a classic match that enhances the cake’s rich texture. To get it right, we’ll cover the key steps for choosing ingredients, mixing, and achieving the right consistency.
Ingredient Selection
The quality of your cream cheese frosting starts with its ingredients. Use room temperature cream cheese for a smooth texture. Mix it with softened unsalted butter, powdered sugar, and a bit of vanilla extract. Adding a pinch of salt can also boost the flavor.
Mixing Methods
Getting the frosting’s consistency right is key. Start by creaming the cream cheese and butter until they’re light and fluffy. Then, add the powdered sugar slowly, mixing well to avoid lumps. If it’s too thick, add a bit of heavy cream or milk. Finally, fold in the vanilla extract for extra flavor.
Consistency Tips
- Go for a creamy, spreadable consistency that’s not too stiff or too soft.
- Chill the frosting for 30 minutes to an hour to firm it up, making it easier to work with.
- If it’s too soft, add more powdered sugar. If it’s too stiff, add a bit of heavy cream or milk.
By following these steps, you’ll make a cream cheese frosting that perfectly complements your Red Velvet Cake. Enjoy the rich, velvety taste of this classic combination!
Professional Cake Assembly Techniques
Mastering cake assembly is key to a stunning Red Velvet Cake. It involves precise layering and frosting application. These details make your dessert look like it was made by a pro.
Layering with Precision
Start by leveling the cake layers for an even surface. Place the first layer on your plate or stand. Then, spread cream cheese frosting on top.
Repeat this with the other layers. Stack them carefully for a uniform look.
Frosting Application Finesse
After layering, focus on frosting. Use an offset spatula for a thin crumb coat. This seals in crumbs.
Chill the cake for 30 minutes. Then, add the final frosting layer. Smooth it out for a polished look.
| Cake Assembly Step | Tips for Success |
|---|---|
| Leveling Cake Layers | Use a serrated knife or cake leveler to trim the tops of the cake layers, ensuring a flat, even surface for stacking. |
| Applying the Crumb Coat | Spread a thin layer of frosting over the entire cake, sealing in any crumbs. Chill the cake to set the crumb coat before adding the final layer of frosting. |
| Smoothing the Frosting | Use an offset spatula or icing smoother to create a flawless, even finish on the cake’s exterior. |
By mastering these techniques, you’ll make a Red Velvet Cake that’s both tasty and beautiful. With practice, you can achieve bakery-quality results at home.
Decorating Your Red Velvet Masterpiece
Let your creativity flow and turn your red velvet cake into a stunning masterpiece. You can choose from classic designs or modern styles. The choices are endless for decorating your delicious cake.
Classic Design Options
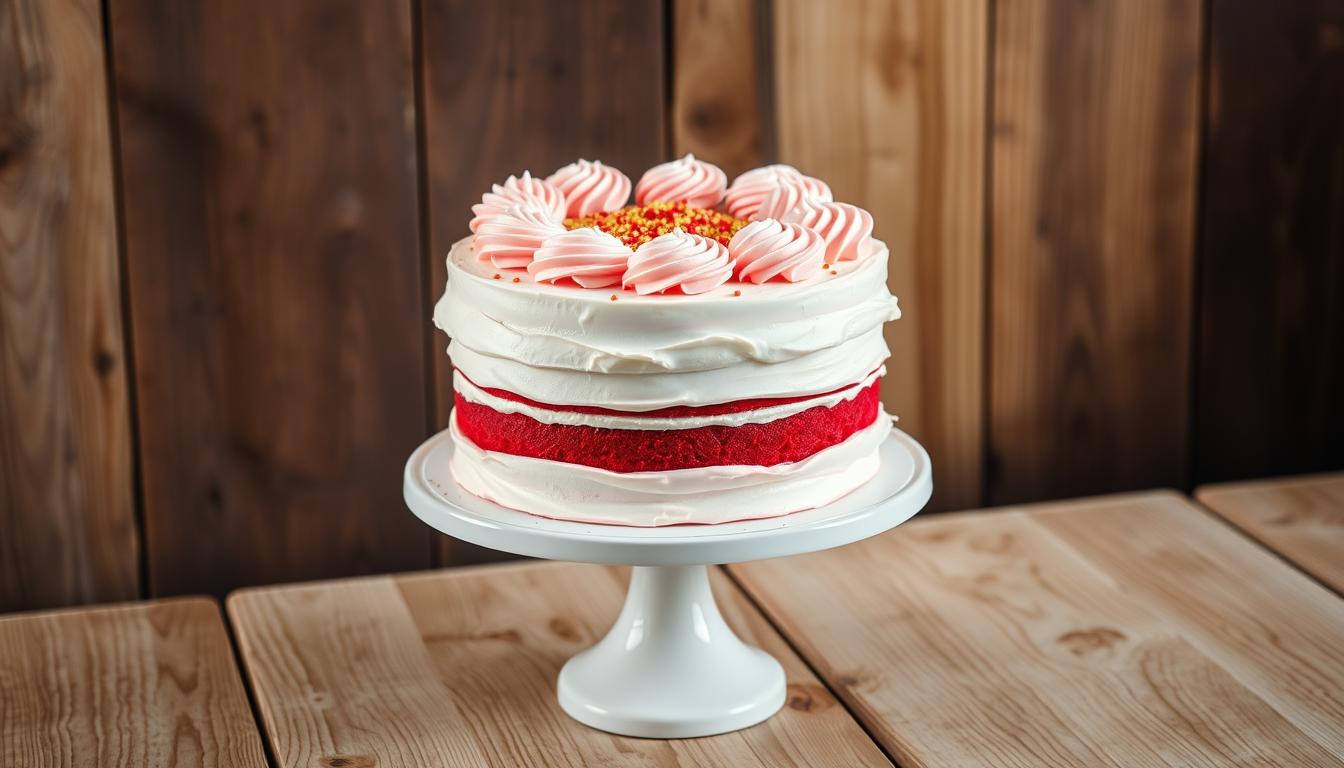
For a timeless look, try classic cake decorating. Smooth cream cheese frosting is perfect, letting the cake’s red color shine. Add delicate swirls or vertical stripes for a touch of elegance.
Finish it with powdered sugar or a red velvet crumb coating. This creates a beautiful, classic look.
Modern Styling Techniques
For something bold, try modern cake decorating styles. Use geometric patterns, bold colors, or intricate designs with different frostings. Add edible design options like fresh flowers or metallic accents.
Even a drip-style glaze can make your cake stand out. Your creativity knows no bounds.
Whether you like classic or modern styles, the cake’s rich texture and vibrant color are key. With imagination and skill, your homemade cake can become a true masterpiece.
Storage and Serving Recommendations
Keeping your red velvet cake fresh is key. Follow these tips to keep it moist and tasty for days. Your cake will stay delicious and look great too.
Cake Storage Tips
Store your cake in an airtight container at room temperature. Don’t put it in the fridge, as it can dry out. If you must store it longer, wrap it in plastic or foil and freeze for up to three months.
Serving Suggestions
- Let the cake warm up to room temperature before serving. It tastes better this way.
- For a classic look, top it with cream cheese frosting.
- Add fresh berries, powdered sugar, or chocolate ganache on top for a beautiful and tasty treat.
Use a sharp knife for clean cuts. This shows off the cake’s red inside and smooth frosting. Share your red velvet cake with loved ones and make memories with every bite.
| Cake Storage Tips | Serving Suggestions |
|---|---|
| Store in an airtight container at room temperature | Allow to come to room temperature before serving |
| Avoid refrigerating the cake | Serve with cream cheese frosting |
| Freeze for up to 3 months if storing long-term | Garnish with fresh berries, powdered sugar, or chocolate ganache |
“The key to enjoying red velvet cake is to savor every moist, flavorful bite.”
Troubleshooting Common Issues
Baking the perfect Red Velvet Cake is a fun journey, but it comes with its own set of challenges. You might face texture, color, or frosting problems. This section aims to guide you through these common issues that can pop up while baking.
Texture Problems
If your Red Velvet Cake feels too dense or dry, there are a few reasons why. Check that you’re using the right amounts of flour, sugar, and leavening agents. Also, be careful not to overmix the ingredients, as this can make the cake tough.
Make sure your oven is at the right temperature and you’re not baking the cake for too long. This will help you avoid a dense or dry cake.
Color Concerns
A perfect Red Velvet Cake should have a vibrant, deep red color. If your cake looks more pink or brown, it might be because of the food coloring. Try different brands and amounts to get the right shade.
Also, remember that the baking soda can affect the color when it reacts with the cocoa powder. This can change the final color of your cake.
Frosting Fixes
A good cream cheese frosting is essential for a Red Velvet Cake. But getting the right texture can be tricky. If your frosting is too thin, chill it for a bit before using it.
If it’s too thick, add a little heavy cream or milk to soften it. Always frost your cake when it’s completely cool. A warm cake can make the frosting melt and become hard to work with.
By tackling these common troubleshooting issues, you’ll be on your way to a cake with perfect texture and color. Plus, you’ll have a smooth and creamy frosting to finish it off.
Conclusion
Baking the perfect red velvet cake recipe is a fun and rewarding journey. You’ve learned about its rich history and how to make it just right. Now, you can make a homemade dessert that will wow your family and friends.
The key to baking success is using the right ingredients and following the right steps. This guide will help you make a red velvet cake recipe that’s truly special. It will impress everyone who tries it.
So, get ready to bake! Collect your ingredients and turn on your oven. Make a dessert that’s moist, velvety, and tangy. Sharing this homemade dessert will create memories that last a lifetime.

